1. Use the right file type
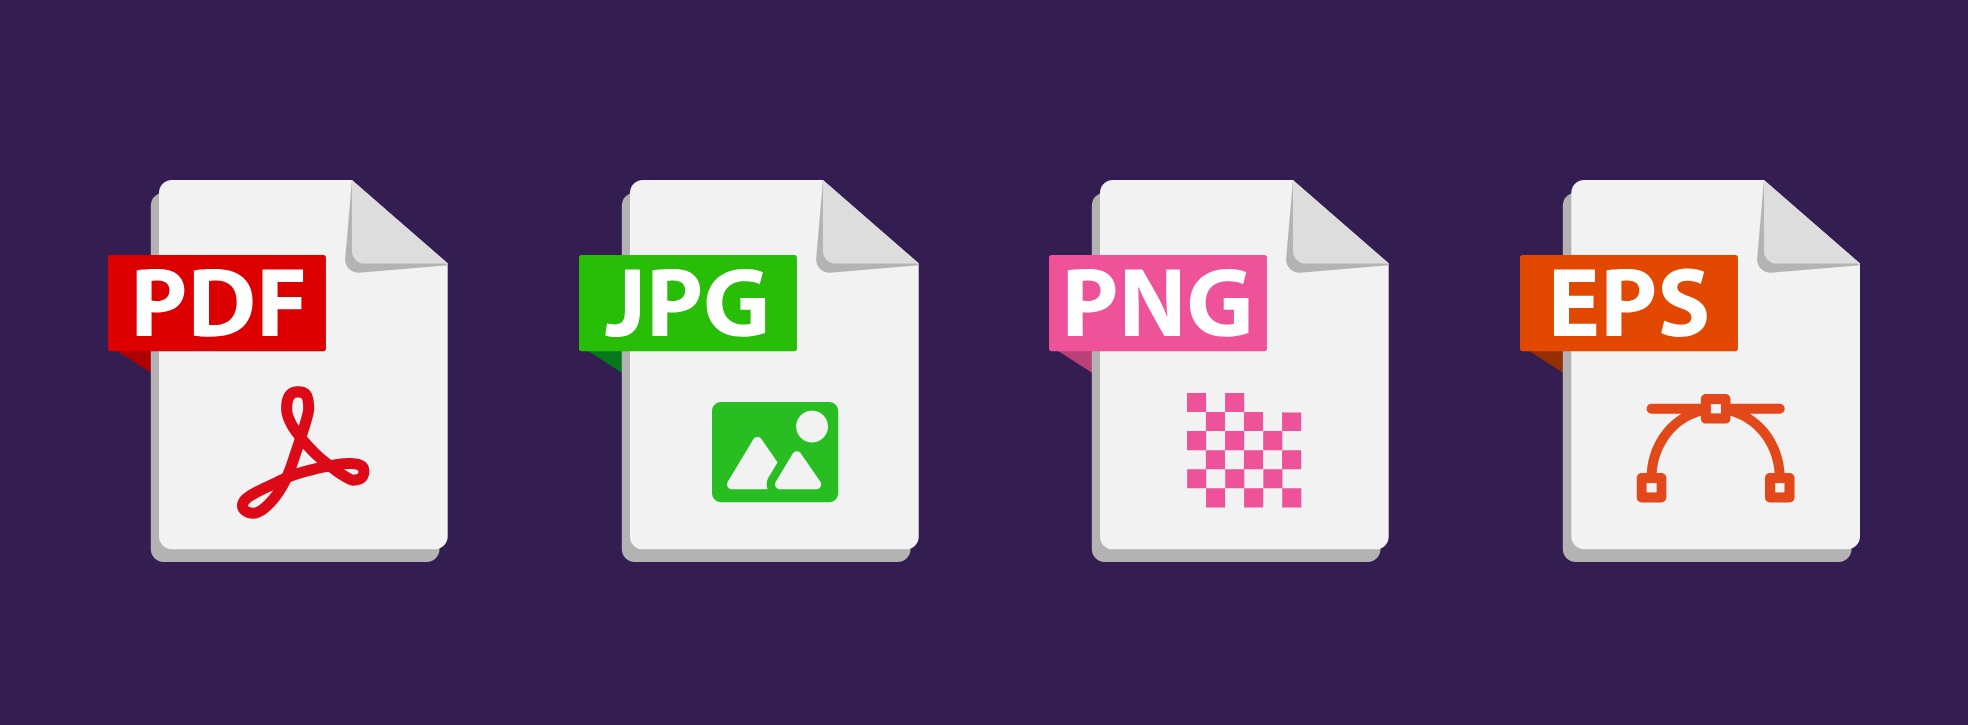
The best file format type to use will depend on the subject and purpose of the image. Product images (that you may take yourself or that you pay for someone to take professionally), for example, will be Raster images, that are made up of pixels. These are likely to be JPEG or PNG files. PNG files tend to have larger file sizes, but the advantage with a PNG file is that it offers the option to have a transparent background. This can be particularly helpful for product shots that you may want to overlay on variously coloured backgrounds.
PDF and EPS files are generally Vector files that we go into more detail in one of the below points. These are best suited to logos, illustrations and animations.
2. Make alt text seo friendly

Ensure that your alt text (alternative text) is SEO friendly. Alt text refers to the wording that can be placed within the HTML of your site in connection with each image as an attribute. This text is used by search engines to help identify what is on the page, as well as being used for web accessibility, e.g. by those using screen readers.
Given that search engines look at this detail when they are scanning your page, optimising this text can be helpful in improving your positioning within search. Use keywords within this text, but be wary of overstuffing or adding anything that isn’t clear. Search engines are clever and tend to be able to figure out when they are being played, which can sometimes lead to hefty penalties.
3. AVOID sizing up small images

We know it’s one thing to reduce the size of your images in order to optimise for your website. Too large a file size can slow your site down, which will negatively impact on the user experience of your site but sizing up small images can also be an issue.
It’s quite another to try to increase the size of small source images.Trying to make a smaller image fit a specific place on your site by expanding its dimensions can negatively affect the quality of the image, a factor that will also impact on the user experience of the site as it will make the site look less professional. As much as you may want to use an original image because of what it shows, if it isn’t of adequate resolution or quality, it is almost always best to go with another. There are many free stock image sites that you may be able to source one from, even if only as a stopgap until you have prepared a decent-quality one of your own.
4. Consider lazy loading

Heard of lazy loading? The idea behind this is that your site will essentially postpone the loading of any images that aren’t immediately visible. For example, if you had a long article page with a number of images featured, only the images visible before the user scrolls down would immediately load.
With lazy loading, any images further down the page will wait to be loaded until the user reaches a certain distance away from the image as they are scrolling.
5. Make Your Images Mobile-Friendly

With the number of people now browsing the web on their mobile phones and devices, optimising your images for mobile is a must. Extensive competition for attention online means that users will not tolerate a slow or tiresome experience as they are likely just to move on to the next thing, which could mean a potential sale or enquiry lost.
Think about the size of a mobile screen. Although they have continued to get bigger, they are still much smaller than a desktop. Ensure that any images you are choosing will look clean at a wide range of screen sizes. An image with lots going on may be too distracting for a smaller screen.
6. Use vector graphics
Use vector graphics for the option to scale an image indefinitely without losing out on quality. The way in which vector graphics are created means that you can scale up and still maintain a perfect resolution. The ability to do this is due to vector graphics being created by lines and curves connected via points.
You could use them for a logo or illustration that could be used across your site and displayed in various sizes across devices and still look as clean and defined as the original. A file type example for a vector graphic would be an EPS (Encapsulated PostScript) file or PDF (Portable Document Format) file.
7. Choose angles wisely
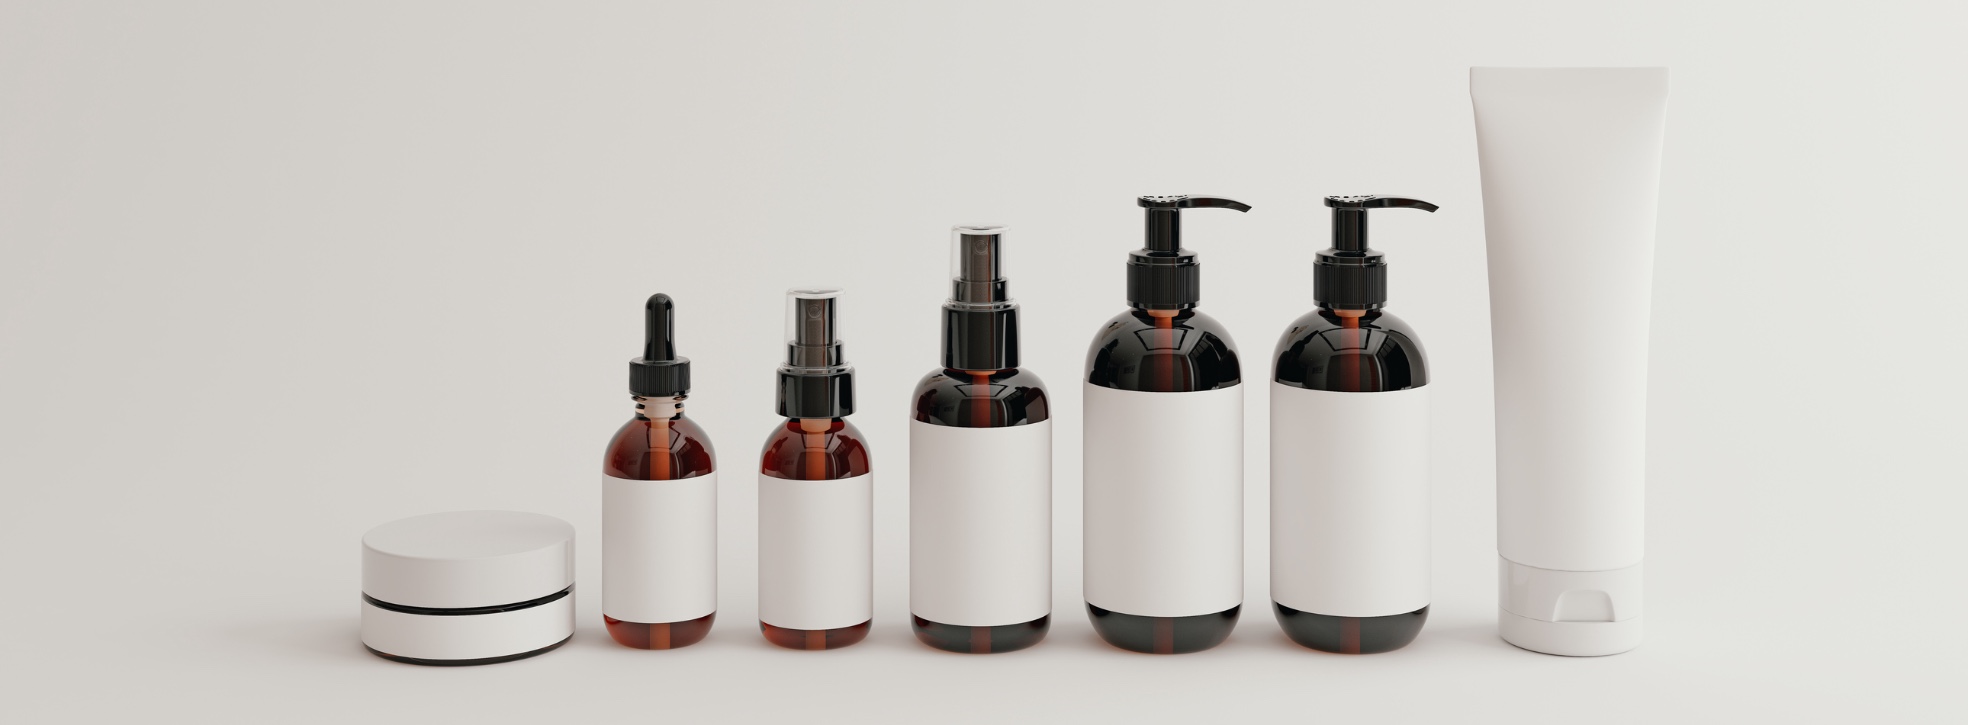
If your business is selling products online, this one is a must to consider. The type of product you sell will impact on the images you choose to display of your product or item. When thinking about angles, front view, back view, from the side, an inside shot, it is important to put yourself in the shoes of the customer viewing the item. Think about what they are likely to want to see when they are considering a purchase. What specific details will be important to them and are unique to the product? Can you display any features that highlight your product as a better option than a potential competitor?
Thinking carefully about this point and offering a variety of images that show the product from a range of angles could make the difference between achieving a sale and the customer moving on to something else.
8. Be careful of copyright

We hope this is an obvious one. Make sure you have the legal rights to any images you use on your site. This means that either the images should belong to you or your business, or you have the correct permissions to use them in the given format. You do not automatically have permission to use photos found in image searches on the web, on other people’s websites, or in books or magazines, so be careful and cautious on this point.
You can either take photos yourself or hire a photographer to do it if you need something specific, but there are also many stock photo sites from which you can use photos with the right permissions. There are both free and paid stock photo websites available to utilise, with the free ones generally allowing the free use of photos in return for a credit or backlink, while the paid ones allow for their use in a certain quantity depending on the fee you have paid. The largest paid sites have a very extensive range of photographs available, but look out for usage restrictions attached to individual photos, as some are only authorised for non-commercial editorial uses.
9. Size down unnecessarily large images before uploading
Whatever browser your web page may be viewed on, you don’t want your image files on them to take longer than necessary to load. If you start with a high-resolution image whose resolution exceeds the size of the area of the web page on which the image will be displayed, you should always try to size it down to the minimum size needed to avoid lossy system upsizing.
Photoshop and similar programs have sophisticated intelligent interpolation-based resizing algorithms that avoid crude pixellation effects when you don’t resize to an integral subdivision of the original resolution.
If you lack access to Photoshop and only have a simple program like Paint, it is generally better only to subdivide the original resolution by an integer (a whole number) (integer so that the image does not lose focus as a result of the resizing operation. In this case, pick the integer that will take you to the final resolution closest to the available pixel space for the image on the web page but without being beneath it.
10. Use image data compression

Once you have finished optimally cropping, sizing and otherwise processing your image, the final step is generally to apply an appropriate level of data compression.
Whatever the final size and resolution of your image, you want it to take up as little space as possible on disk so that it is as quick as possible to load over the Internet, bearing in mind that not everyone has the use of equally fast Internet connections and that some users still have to pay for every Megabyte of data they download or for every Megabyte over an allowed monthly limit. Data compression benefits the end-user and will also tend to improve your website’s Google performance scores, an increasingly important search ranking factor.
If you have Photoshop or even Photoshop Elements, at the time of saving any file you have worked on, you can set a quality setting on a sliding scale from 1 to 10. While you do not want this to go too low to the detriment of the quality of your final presentation, reducing the setting by even two or three notches from the maximum setting can make for very significant reductions in file size, so try it, and find the optimal balance of data compression and image quality that works for you.
If you don’t have any version of Photoshop and are still using a free program like Paint to crop and size your images, then the resulting file size will not be optimal by default. In this case, process your images through the free third-party web tool Tinypng (www.tinypng.com) in batches of up to 20 at a time. This handy free third-party utility works with both .jpg and .png formats, as well as a variety of other, less common ones, and will in many cases reduce the file size by between 50 and 80% before you upload, without noticeable loss of quality.
Data compression on images generally works by identifying areas that are exactly the same or almost the same colour and batching them as a single unit, instead of assigning a separate colour value to every single pixel. So the more variable the colours on your image are from one pixel to the next, the less data compression algorithms will be able to do to reduce file sizes, while the more consistent they are, the more the algorithms will be able to cut your file size.